Skip to the content

BeSquares SupportBeSquares Support

  • Docs
  • Tickets
  • Create Ticket
  • Register
  • Login
  • Docs
  • Tickets
  • Create Ticket
  • Register
  • Login
  • Docs
  • Tickets
  • Create Ticket
  • Register
  • Login
  • Getting Started

    • Introduction

    • Requirements

  • Installing

    • Installing WordPress

    • Installing ChaSupport

    • ChaSupport Setup Wizard

  • Plugin Settings

    • Ticket Settings

    • TCP & APP Settings

    • Mail Notifications

    • APP Notifications

    • Users & Permissions

    • Envato Integration

  • Plugin Style

    • Plugin Customize

    • APP Pages

    • APP Logo

    • APP Template

    • APP Colors

  • Integration

    • WebSocket Integration

    • Envato Integration

    • WooCommerce Integration

  • Advanced

    • Server Status

    • Installing PHP-ZMQ

  1. Docs
  2. ChaSupport
  3. Advanced
  4. Installing PHP-ZMQ

Installing PHP-ZMQ

Estimated reading time:

This article will require login to your host provider server and apply SHELL command if you are not sure we advise to reach your host provider.

We use PHP-ZMQ extension to create live WebSocket seasons:

Installing PHP-ZMQ

If your host provider is using Cpanel you can install ZMQ from pear modules

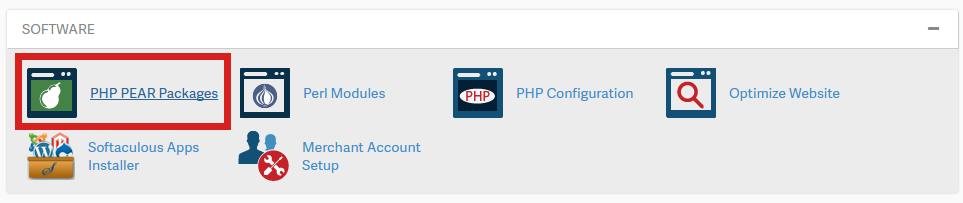
Go to pear packages then search for "php-zmq" or "zmq" and click on the install button.

Installing PHP-ZMQ via Command

To install ZeroMQ with command log in to your server through Putty or any similar, We will start first with updating the repo with the following command:

$ sudo apt-get update

Then install the require dependency:

$ sudo apt-get install php-pear libzmq3-dev

You can now start installing ZeroMQ with pecl:

$ sudo pecl install zmq-beta

After installing ZMQ make sure to add the following line at your php.ini config file

extension=zmq.so

Install ZMQ From Source

install the require dependency:

apt-get install --yes git libzmq3-dev

clone latest version from git

git clone git://github.com/mkoppanen/php-zmq.git

to install zmq run

cd php-zmq
phpize && ./configure
make
make install
cd ..
rm -fr php-zmq

To enable ZMQ you need to add the following at your php.ini file

extension=zmq.so

or in file /etc/php/7.x/mods-available/zmq.ini, then run sudo phpenmod zmq


If the install was successful you should see green check icon next to PHP ZMQ at plugin settings > server status page

Last update: August 6, 2025
Views: 741
How do you feel about this article ?
0 0 0
In this page:

    © 2025 BeSquares Support

    Powered by WordPress

    To the top ↑ Up ↑